BASIC PROCESSING
Introduction
This is a step by step instruction of how I personally create art for my dress-up games. Your process will probably be different but this might help nonetheless. If you need help don’t hesitate to contact me.
Things may get a little technical here but it is not expected that you will have an in-depth understanding the whole process, as I will be formatting your files for you.
Personally, for drawing I use:
iPad Pro
Apple Pencil
Procreate
and for formatting I use:
MacBook Air
Photoshop
It is recommend to draw at 3000x3000, but remember that it will be scaled down to 1024x1024 when formatting.
Textures
The default texture for every item in Stylized Fashion Game is the 1st texture (at the top right of the image). The exception is ‘base’, as it will look too flat to imitate skin. So the default for base is the 2nd texture.
It is useful to use the first and second textures as guides when drawing art for the game, so that the depth will be what you expect.
There are currently 24 textures in the game. So if you do not like the first or second texture as your default then this can be changed. If you would really prefer your own texture then please contact me. But note that creating each texture is quite an involved process.
You can try out the Texture Check psd file. Just make sure you do not turn off the alpha lock (when you fill in the colour of your choice to the M layer) and do not change the perm layers.


Set up
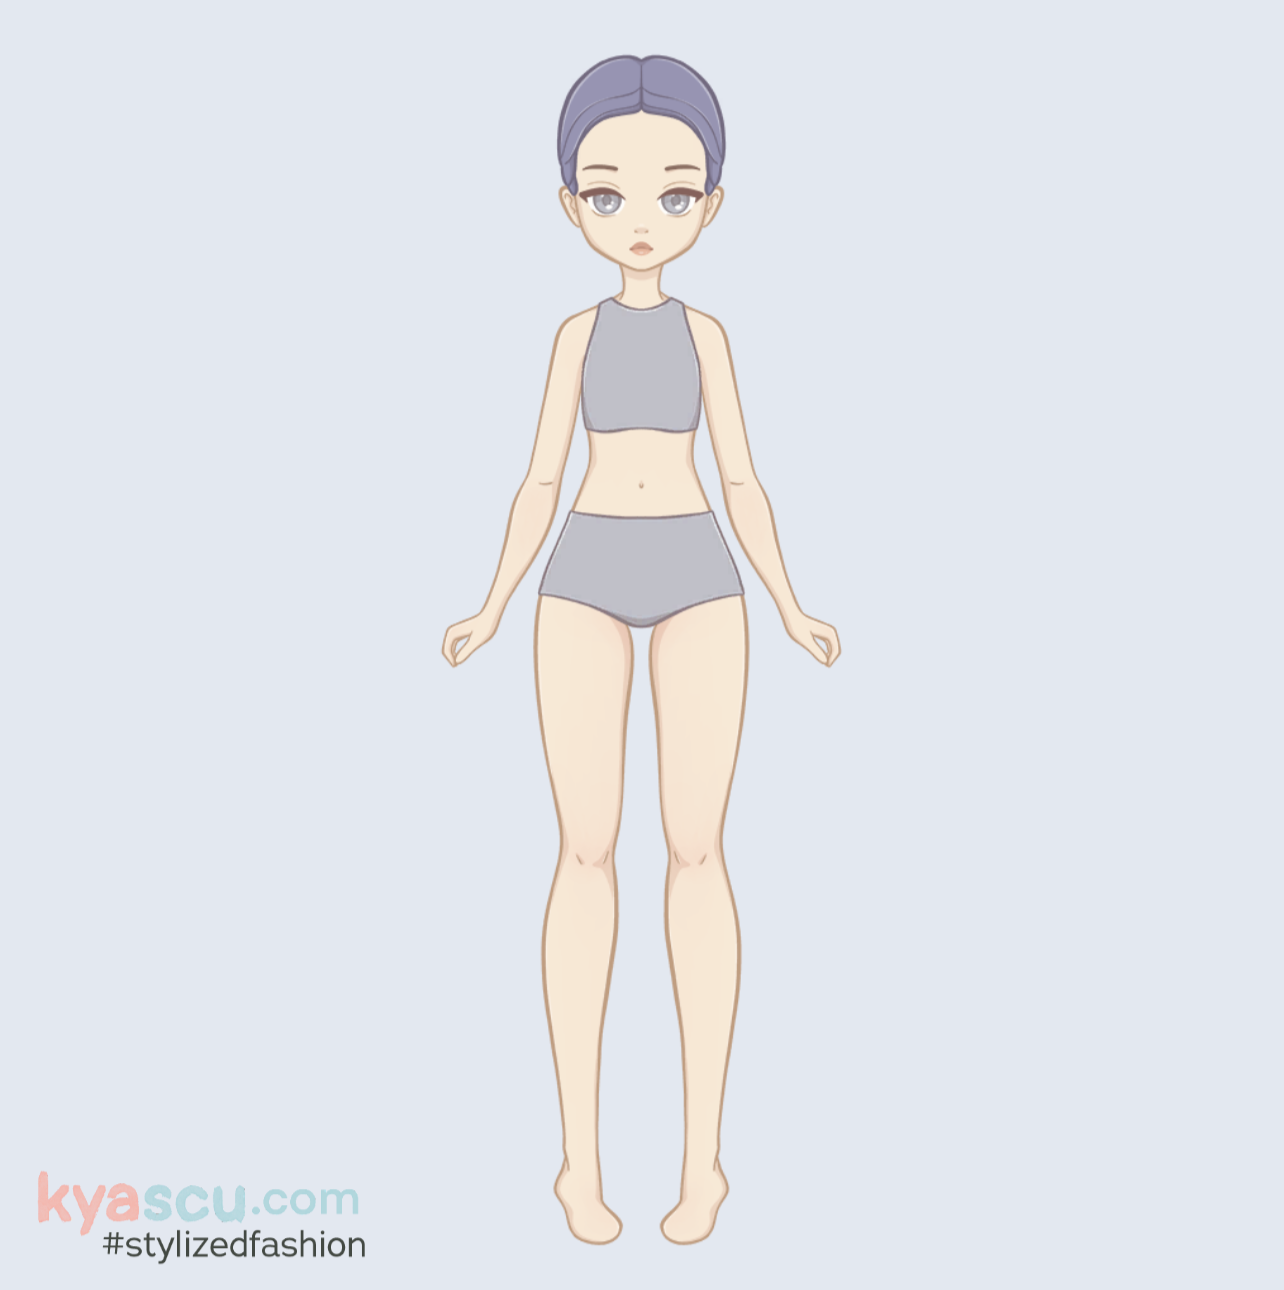
It’s important to have an empty psd template with the correct file and folder names for formatting purposes. The first template you need to make is the base. Pick a main colour that’s not too light but not too dark (somewhere in the 60-75% grey range) so that the shading will look good no matter the skin tone.
If you are using procreate or you are using a device with a weaker GPU, then you may not be able to load every single subcategory into one psd file. The link on the right will take you to the empty templates, as well as some filled-in examples
If you have an exceptionally powerful PC then you can use the link on the left, which is a separate psd file with all of the empty layers and folders in one place.
After this I usually make one of each Character subcategory item before making anything else.
I then make the first hair. So that I can draw faster, I usually sandwich a sample base and floating head in between the layers of the blank template. This doesn’t make much sense until you look at the Kimi samples. Clothing and Accessories templates are also on the right.
Drawing
This is where I spend somewhere between 5 days to 2 weeks drawing around 150 items (not including character).
To mirror or to not mirror? That is the question.

Based on your personal preference, you can choose to have a symmetrical (left) model or an asymmetrical (right) model. This is entirely up to the artist.
Tips
Just be careful about drawing assets that have body parts overlapping. Make sure that you carefully plan out your model before making clothing assets.
For example, on the right is the original Peaches model. I drew this back when the layer order was completely different and is no longer compatible with the current one. Because of the incompatibility some clothes now look strange when equipped.


I recommend making a guide after making the first plain base, that way you have a basic horizontal guide for where things fall, as shown on the left. The lines on the head show where the hairlines should roughly be and the green lines show where the seams should roughly be. They should only serve as guides, not to be followed strictly.
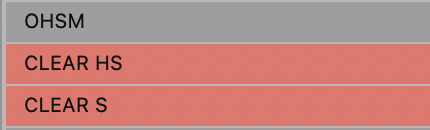
I also copy and paste the BO, BH, BS, and BM layers of the plain base and rename them as OHSM so I can reuse them as easy templates to make skin tight items for Clothing > Inner, Hosiery and Accessories > Gloves (shown on the right).

Photoshop Formatting
So, this is where I step in to format your psd files.
At this point you need to have at least these 3 things done before you send them off to me:
all flat layers are merged and named 1-5 respectively.
OHSM are coloured with a respective default OHSM taken from the Texture Check above.
remove stray/empty layers.
I will then combine them all in Photoshop. This is what it will look like then.
I save this as a separate backup, resize the new one to the correct size for the game which is 1024x1024.
After this I start the next round of formatting. I hide all of the flat layers by searching 1, 2, 3, 4 and 5 and then locking them (which is why it is important the flat layers are named correctly). I then use a custom action to make all layers filled with #ffffff white. This is what it will look like then.
All layers must be active before exporting them. I then export them using a custom script called Export Layers to Files (Fast). This is different to Adobe’s built in feature in three ways:
It exports much faster
It can accurately keep the files in the correct folder based on their group
pre/suffixes are no longer mandatory

Even outside of this project, this is the most powerful script for Photoshop I have ever found. You can see its settings in the screenshot above.
Icons
I usually just use the items by themselves as the icons (scaled down). Because of this, I always make sure that parts obstructed by the body will still look decent when the body is removed.


What goes in the icons is completely up to the artist, it could be a mini illustration of the item or an abstract representation of it.
This is the psd template that I use to export the icons. I then use the script mentioned above to export them with the “Lowest layer is background” setting turned on. The BG layer in the PSD file is filled with whatever “bg2” colour is chosen for the colour scheme (more on this below).
The button below is linked to an example of Kimi set 1 asset icons.

FAQs
Question
Answer
If you have anymore questions please send them to me and I will add them to the FAQ wall so that they can be easily referenced.